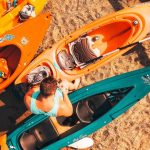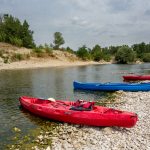
So you’ve got your kayak and a bag of gear waiting to get out on the water. Awesome, now let's find a solution for transporting it.
Back in Gear Essentials we briefly covered buckets, barrels, boxes and bags, but here we’ll look more at how we pack our kayak, how it might affect our journey and what we might need to take with us.
Contents
show
Packing for Recreational Trips
For short trips, we often don’t need anything. A lot of the time when we go paddling, we just hop on the boat and get out on the water without worrying about anything else.
Sometimes we might take lunch with us if we’re heading out all day, and maybe a bottle of water or a flask of coffee. If it’s cold, or we’re going a long way, we might want some spare layers with us in case the weather turns or in case we fall in. It’s also sometimes nice to have a shelter, like a tarpaulin, with us so we can get out of the wind over lunch. Then there’s those other important things like first aid kits, phones, keys and wallets.
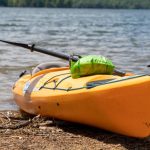
Packing for Kayak Fishing
For those with more technical aspirations, such as fishing, we are going to have some sport-specific kit with us. Tackle boxes, rods and fish finders, for example, need to go somewhere while paddling and while some fishing kayaks have specific storage for these things, others require that we stow them safely while we get ourselves to where we want to fish.
Packing for Kayak Camping
Then we get into the realms of overnight trips. We might need tents, tarpaulins, sleeping bags, sleeping mats, spare clothes, food, and stoves. Additionally we might need rescue equipment for sea or white water kayaking, or repair kits and spare paddles.
There’s an enormous range of possibilities when it comes to kit and there’s no way we’re going to cover it all in this short article, but we can give you some general rules, advice and top tips which can help you decide how to pack your boat.
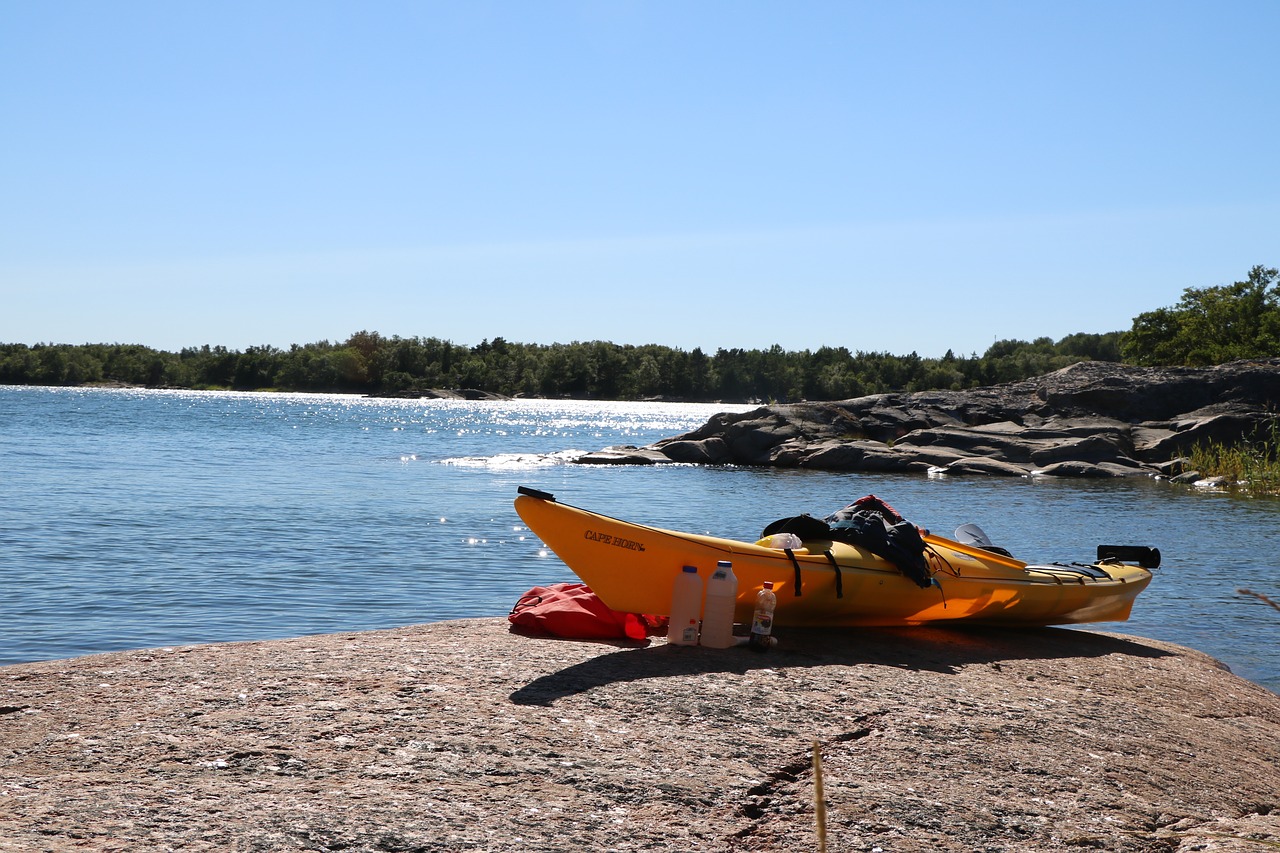
Keeping your Gear Dry
Probably the most important thing when it comes to taking things out on the water is thinking about how we’re going to keep our kit dry. We mentioned buckets, barrels, boxes and bags before and they are pretty much our go to options for stopping our kit getting wet.
Buckets
These ones are simple, we have all seen a bucket before and these are no exception. Those big flexi-buckets are really useful here as they’re a bit more hardwearing, but these can be a great way to consolidate kit in your sit-on-top and also make sure it isn’t sitting in a puddle on the floor.
Just remember the obvious; if it rains, the kit will get wet.
Also bear in mind that if you capsize, your kit will fall overboard.
These things aren’t always bad, and buckets can be great for throwing a selection of bags or boxes into, or for a quick place to put a jacket or helmet while you don’t need it on.
Barrels
Arguably these are more common among canoers than kayakers, but they’re still a useful piece of kit and are totally watertight.
Barrels come in any number of sizes and either have a screw top closure, or a clip which secures the lid in place. The seal on these barrels means that even if they fall overboard, they will remain watertight and keep your kit dry.
Securing these to your boat can be a difficult task and they’re probably not practical for any kayak which isn’t a sit-on-top design. Bungees can be good for holding these down, especially in kayaks with large recesses for kit.
Boxes
As well as the more technical tackle boxes and pieces of kit like that, waterproof cases such as the military grade Peli cases are excellent, if expensive, pieces of kit.
These boxes have foam inserts which can be shaped to fit phones, cameras and all manner of different devices. They are fully waterproof and drop proof, making them the perfect choice for those breakables or electronic devices that you have with you and don’t want to risk getting any water into.
Bags
Dry bags are unequivocally the most popular method of stopping kit getting wet while kayaking. These bags come in all sizes, from the tiny 1 liter bags to the enormous 100 liters and beyond, as well as varying thicknesses. Thicker bags are usually more waterproof and more robust, built to withstand full immersion and rough conditions as well as being beaten around vans, beaches and the insides of kayaks.
The thinner bags are more ‘shower proof’ and are similar to mountaineering rucksack liners. A common mistake is to put your phone into one of these thinner bags, pop it in your PFD pocket and then realise at the end of the day that you now own an expensive paperweight rather than a phone. These liner bags are useful for separating your kit within the dry bags so you can find things easier.
This may seem an expensive way to go about doing this, but there are two benefits. Firstly, if you have to open your bag in the rain, or rummage around with wet sleeves and hands, you won’t mind so much if all of your kit is in smaller dry bags. Secondly, you never realise your main bag has sprung a leak until it’s too late. Usually these leaks are small enough that internal dry bags will protect your kit, but if all of your kit is just stuffed in without any internal storage, that small leak could become catastrophic.
These bags are usually roll-top, meaning that once you have filled the bag with your items, you need to roll the top down at least three times, then clip it together, before it is considered watertight. It’s worthwhile squashing the air out at this stage so your kit takes up less room, but just make sure you don’t squash anything breakable, like the eggs you’ve put in your bag for tomorrow’s breakfast.
One final tip with these bags. If you’re loading into hatches, for example in a sea kayak, it’s often easier to put the bag inside the hatch and then fill it, rather than the other way around. The space is usually far bigger than the hatch itself and a loaded bag can be hard to squeeze through the gap.
Securing Your Load
This is more important for sit-on-top kayaks, as closed-cockpit boats rely predominantly on internal storage, with only a handful of lightweight items stored outside the boat.
It’s up to you whether you choose to tie your kit down into your boat or not, it’s not always necessary and can make it harder to move your kit around if you need to pull it towards you, or pass it to another boat, while on the water.
However in a river situation, a capsize of a kayak with a load of unsecured kit would most likely result in a loss of some if not all of your equipment.
If you tie your kit, do so securely and tuck away or tie off loose ends of ropes/straps that they don’t get tangled. Equally, any kit carried inside your cockpit should be stored away securely. A wayward rope and a capsized kayak can easily result in your legs becoming tangled up and trapped in the kayak.
Weight Distribution: Trim
Another jargon-y word, trim refers to the forward/backward balance of the kayak. The heaviest thing in the kayak is usually us, the paddler. We sit somewhere around the middle of the boat, kayak dependent, and this allows the trim to be balanced.
Improper trim will make the boat incredibly difficult to control on the water. The heavier end of a kayak, especially a longer kayak, will want to turn upwind, or upstream, like an anchor, while the lighter end spins downwind, or downstream.
If you’re paddling into the wind with a stern-heavy kayak, there’s a good chance you’ll struggle the entire way. Likewise, going downriver with a bow-heavy kayak will be difficult.
Usually we want a balanced kayak, where the bow and stern are equally weighted. This allows the boat to perform as it was intended by the manufacturer, while giving us the best range of potential without moving your kit around.
However, if we know our journey is a long trip into the wind, we might weight the bow slightly to give us an advantage. That’s not to say we load everything into the bow, but we might set it slightly off balance.
Don’t Overload Your Boat
A loaded boat is always going to be harder to control than an unloaded boat. Edging a loaded boat, as well as simple tasks such as generating speed, take more effort than usual. Try to avoid carrying any more than you have to, especially if it looks like your boat is going to be sitting a bit low in the water.
Remember, the recommended weight for a boat often includes kit storage, and just because you can fit it in, doesn’t mean you can paddle it easily.